겨울방학 프로젝트 - 1 OLED 제어
준비물
- Arduino uno
- OLED SSD1306
- breadboard
- MP3-TF-16P V3.0
1. 개요
지금부터 만들것은 스펙트럼 분석기(Spectrum Analyzer)이다.
작동 방식은 마이크에 소리가 닿으면 아두이노에서 푸리에 변환을 하여, oled로 변환한 그래프를 보는 것이다.
2. OLED 초기 세팅
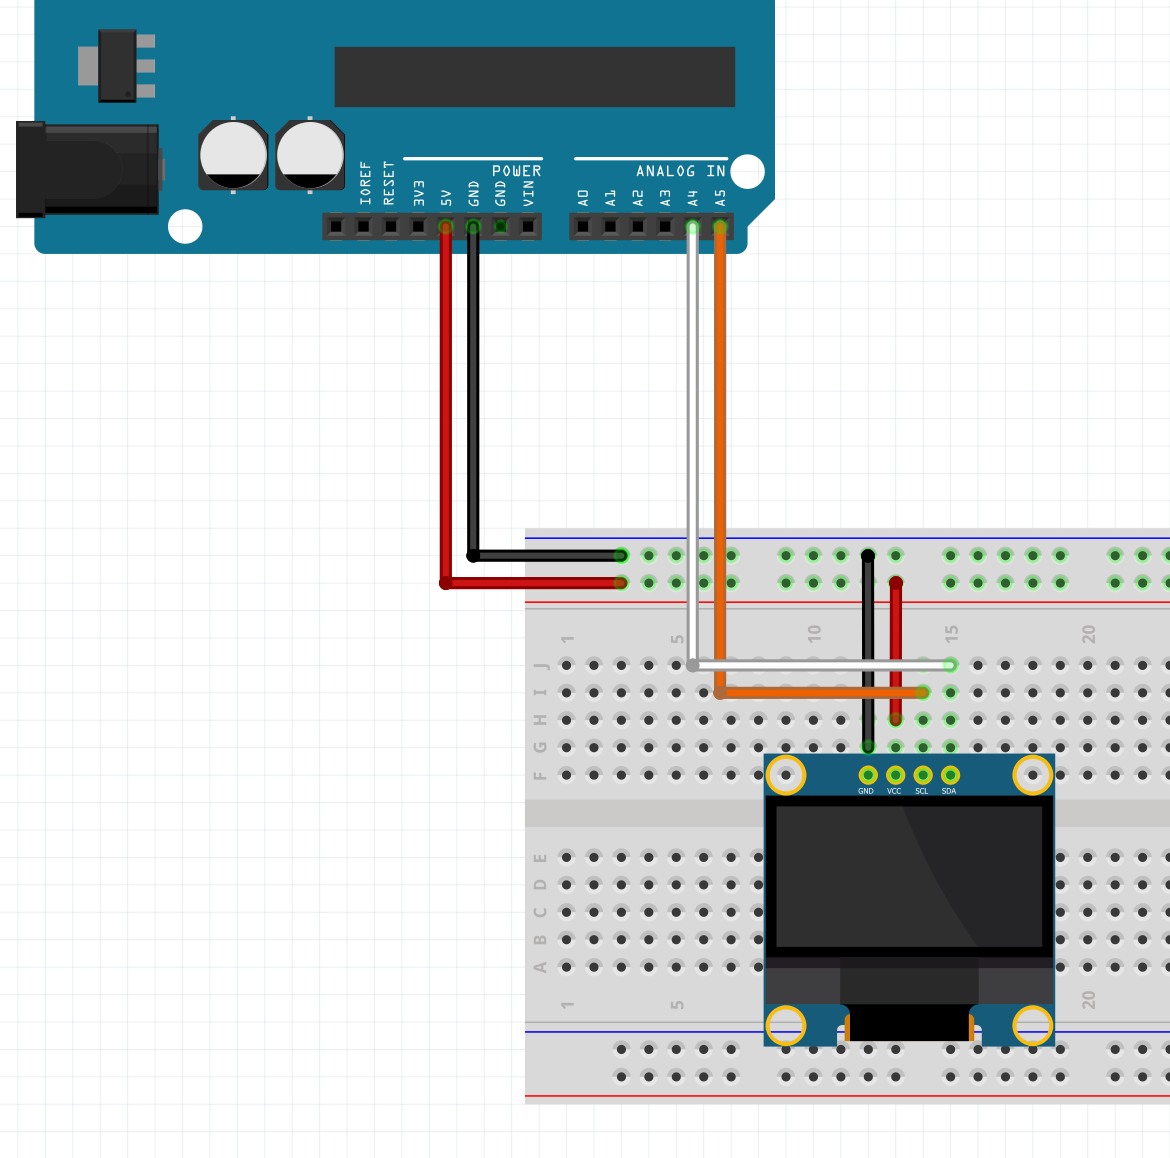
선 연결
GND -> GND
VCC -> 5V
SCL -> A5
SDA -> A4
그림으로 보면 이렇다.
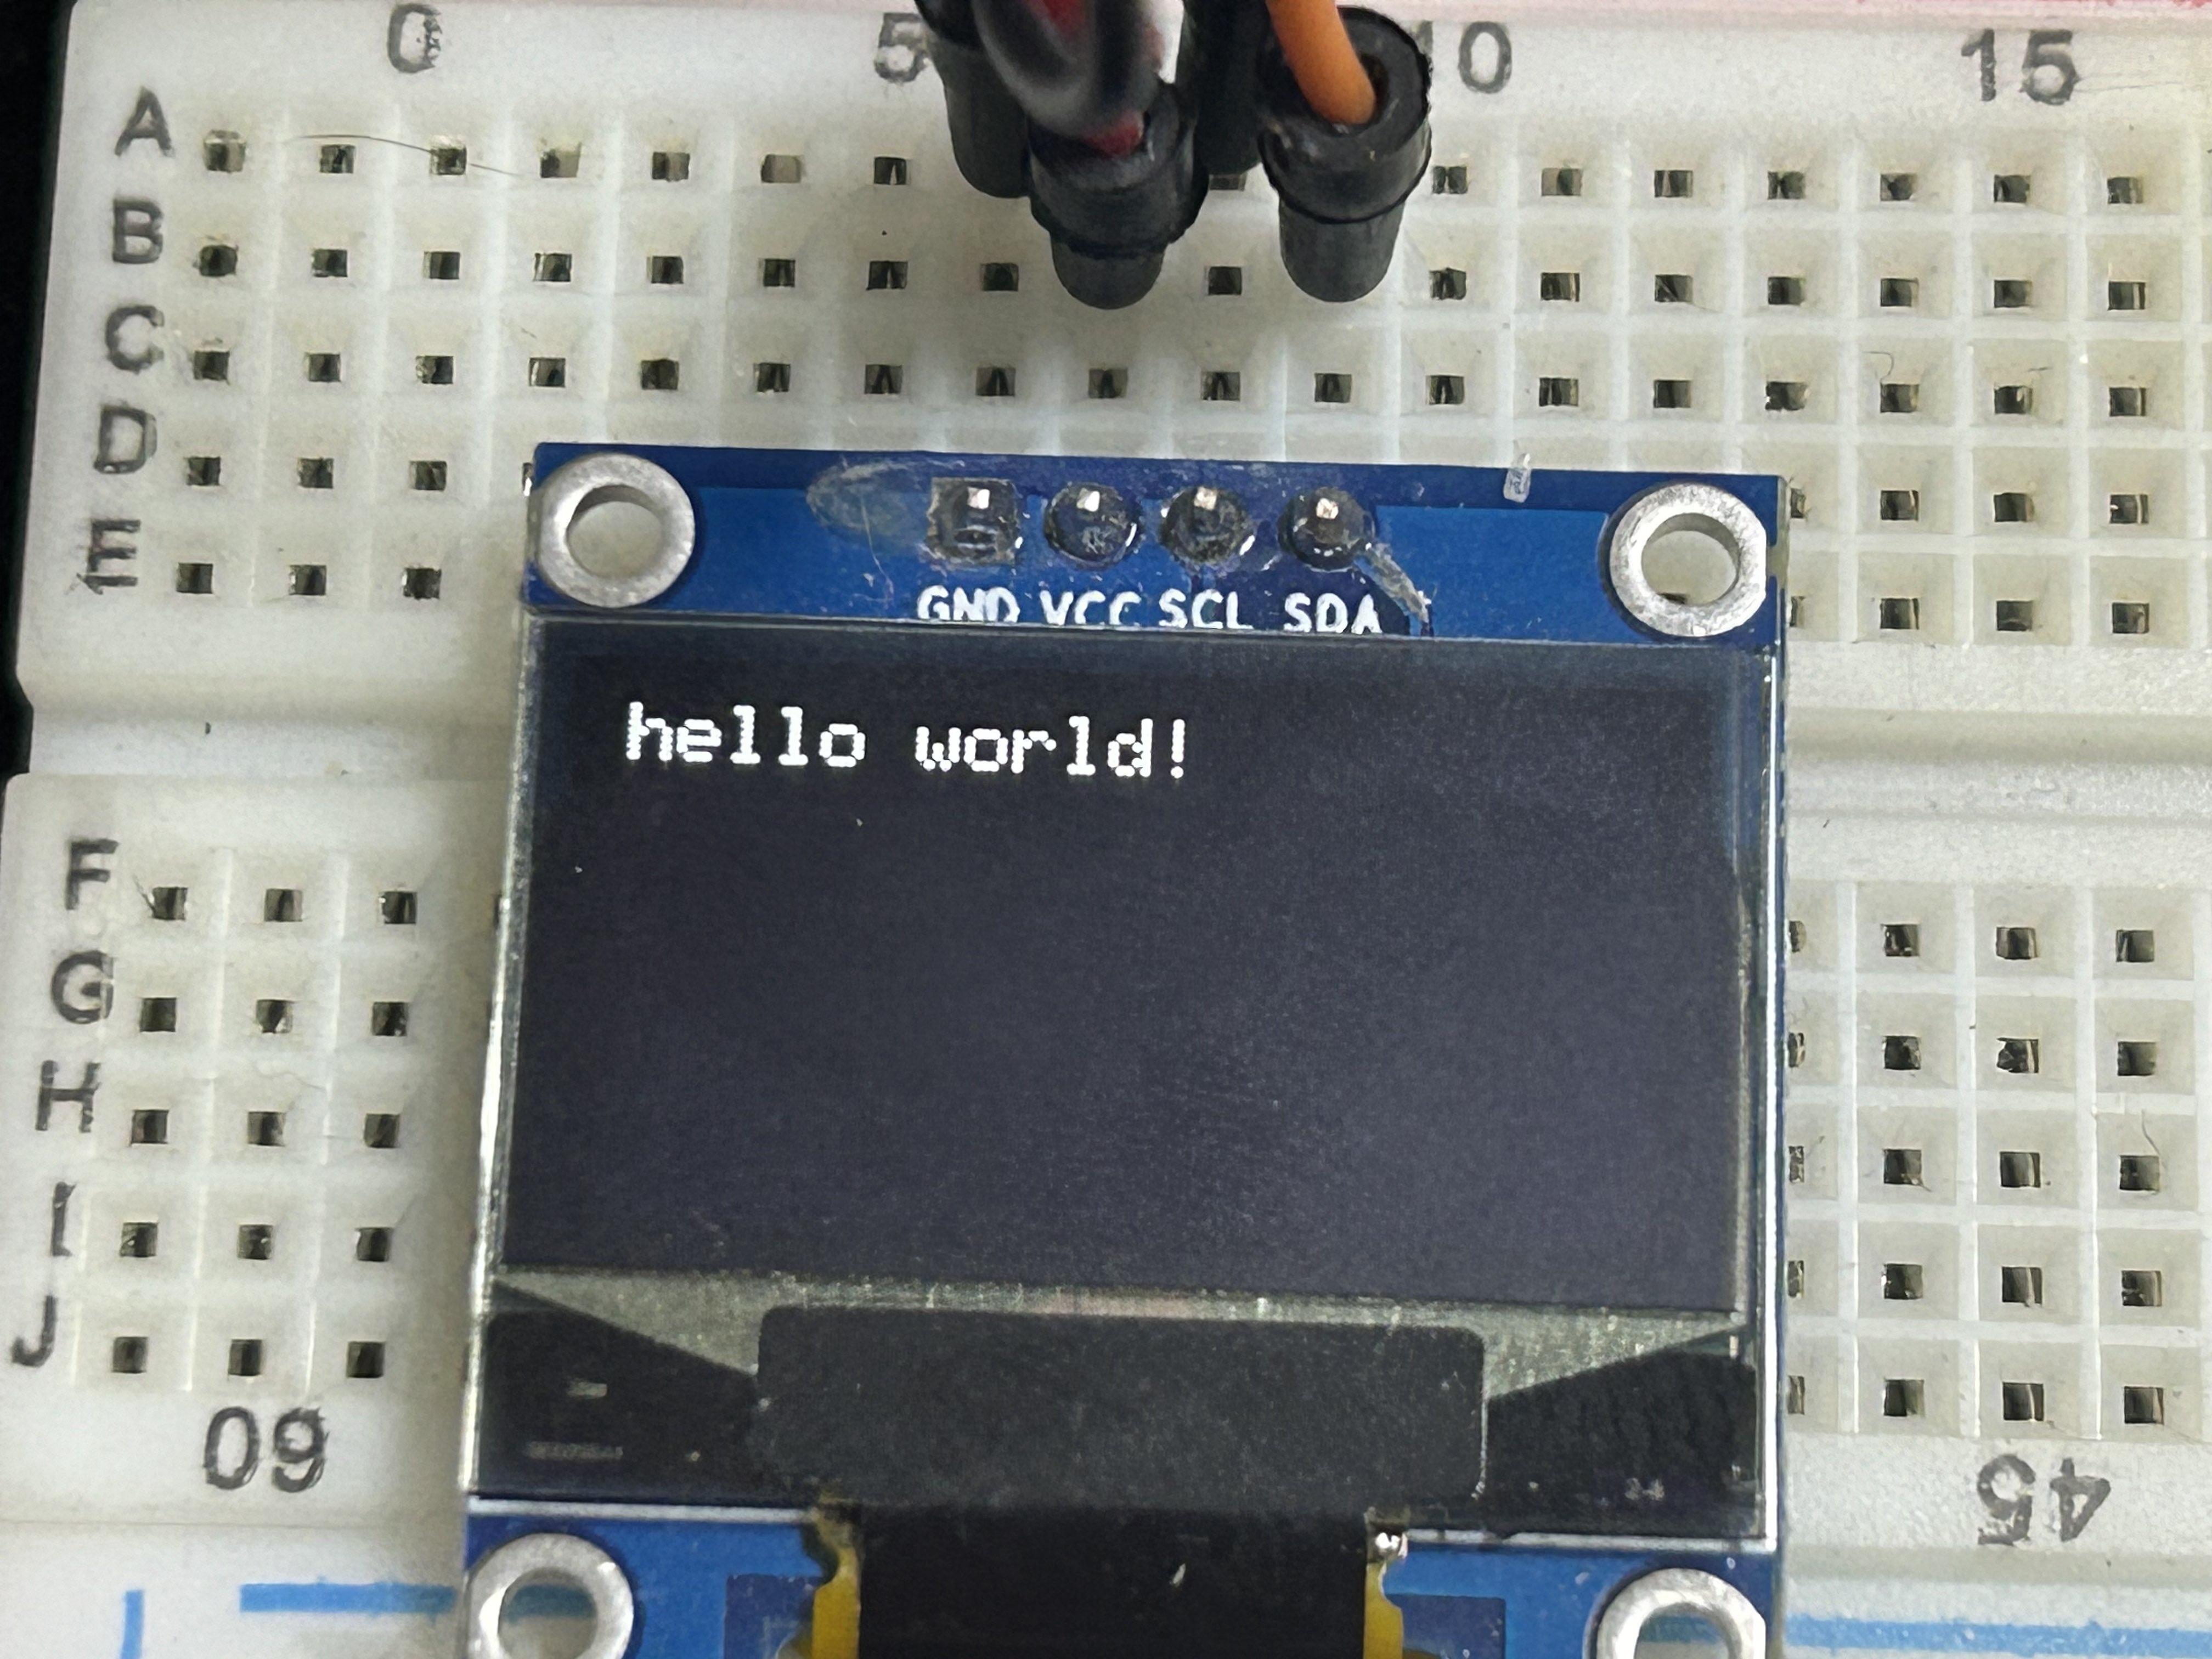
hello world 출력
println을 사용하여 hello world를 출력해보자
#include <SPI.h>
#include <Wire.h>
#include <Adafruit_GFX.h>
#include <Adafruit_SSD1306.h>

#define SCREEN_WIDTH 128 // OLED display width, in pixels
#define SCREEN_HEIGHT 64

// Declaration for an SSD1306 display connected to I2C (SDA, SCL pins)
Adafruit_SSD1306 display(SCREEN_WIDTH, SCREEN_HEIGHT, &Wire, -1);


void setup() {
  Serial.begin(115200);

  if(!display.begin(SSD1306_SWITCHCAPVCC, 0x3C)) { // Address 0x3D for 128x64
    Serial.println(F("SSD1306 allocation failed"));
    for(;;);
  }
  display.clearDisplay();

  display.setTextSize(1);
  display.setTextColor(WHITE);
  display.setCursor(0, 0);

  display.println("hello world!");
  display.display();
}

void loop() {

}
출력결과
3. OLED 응용하기
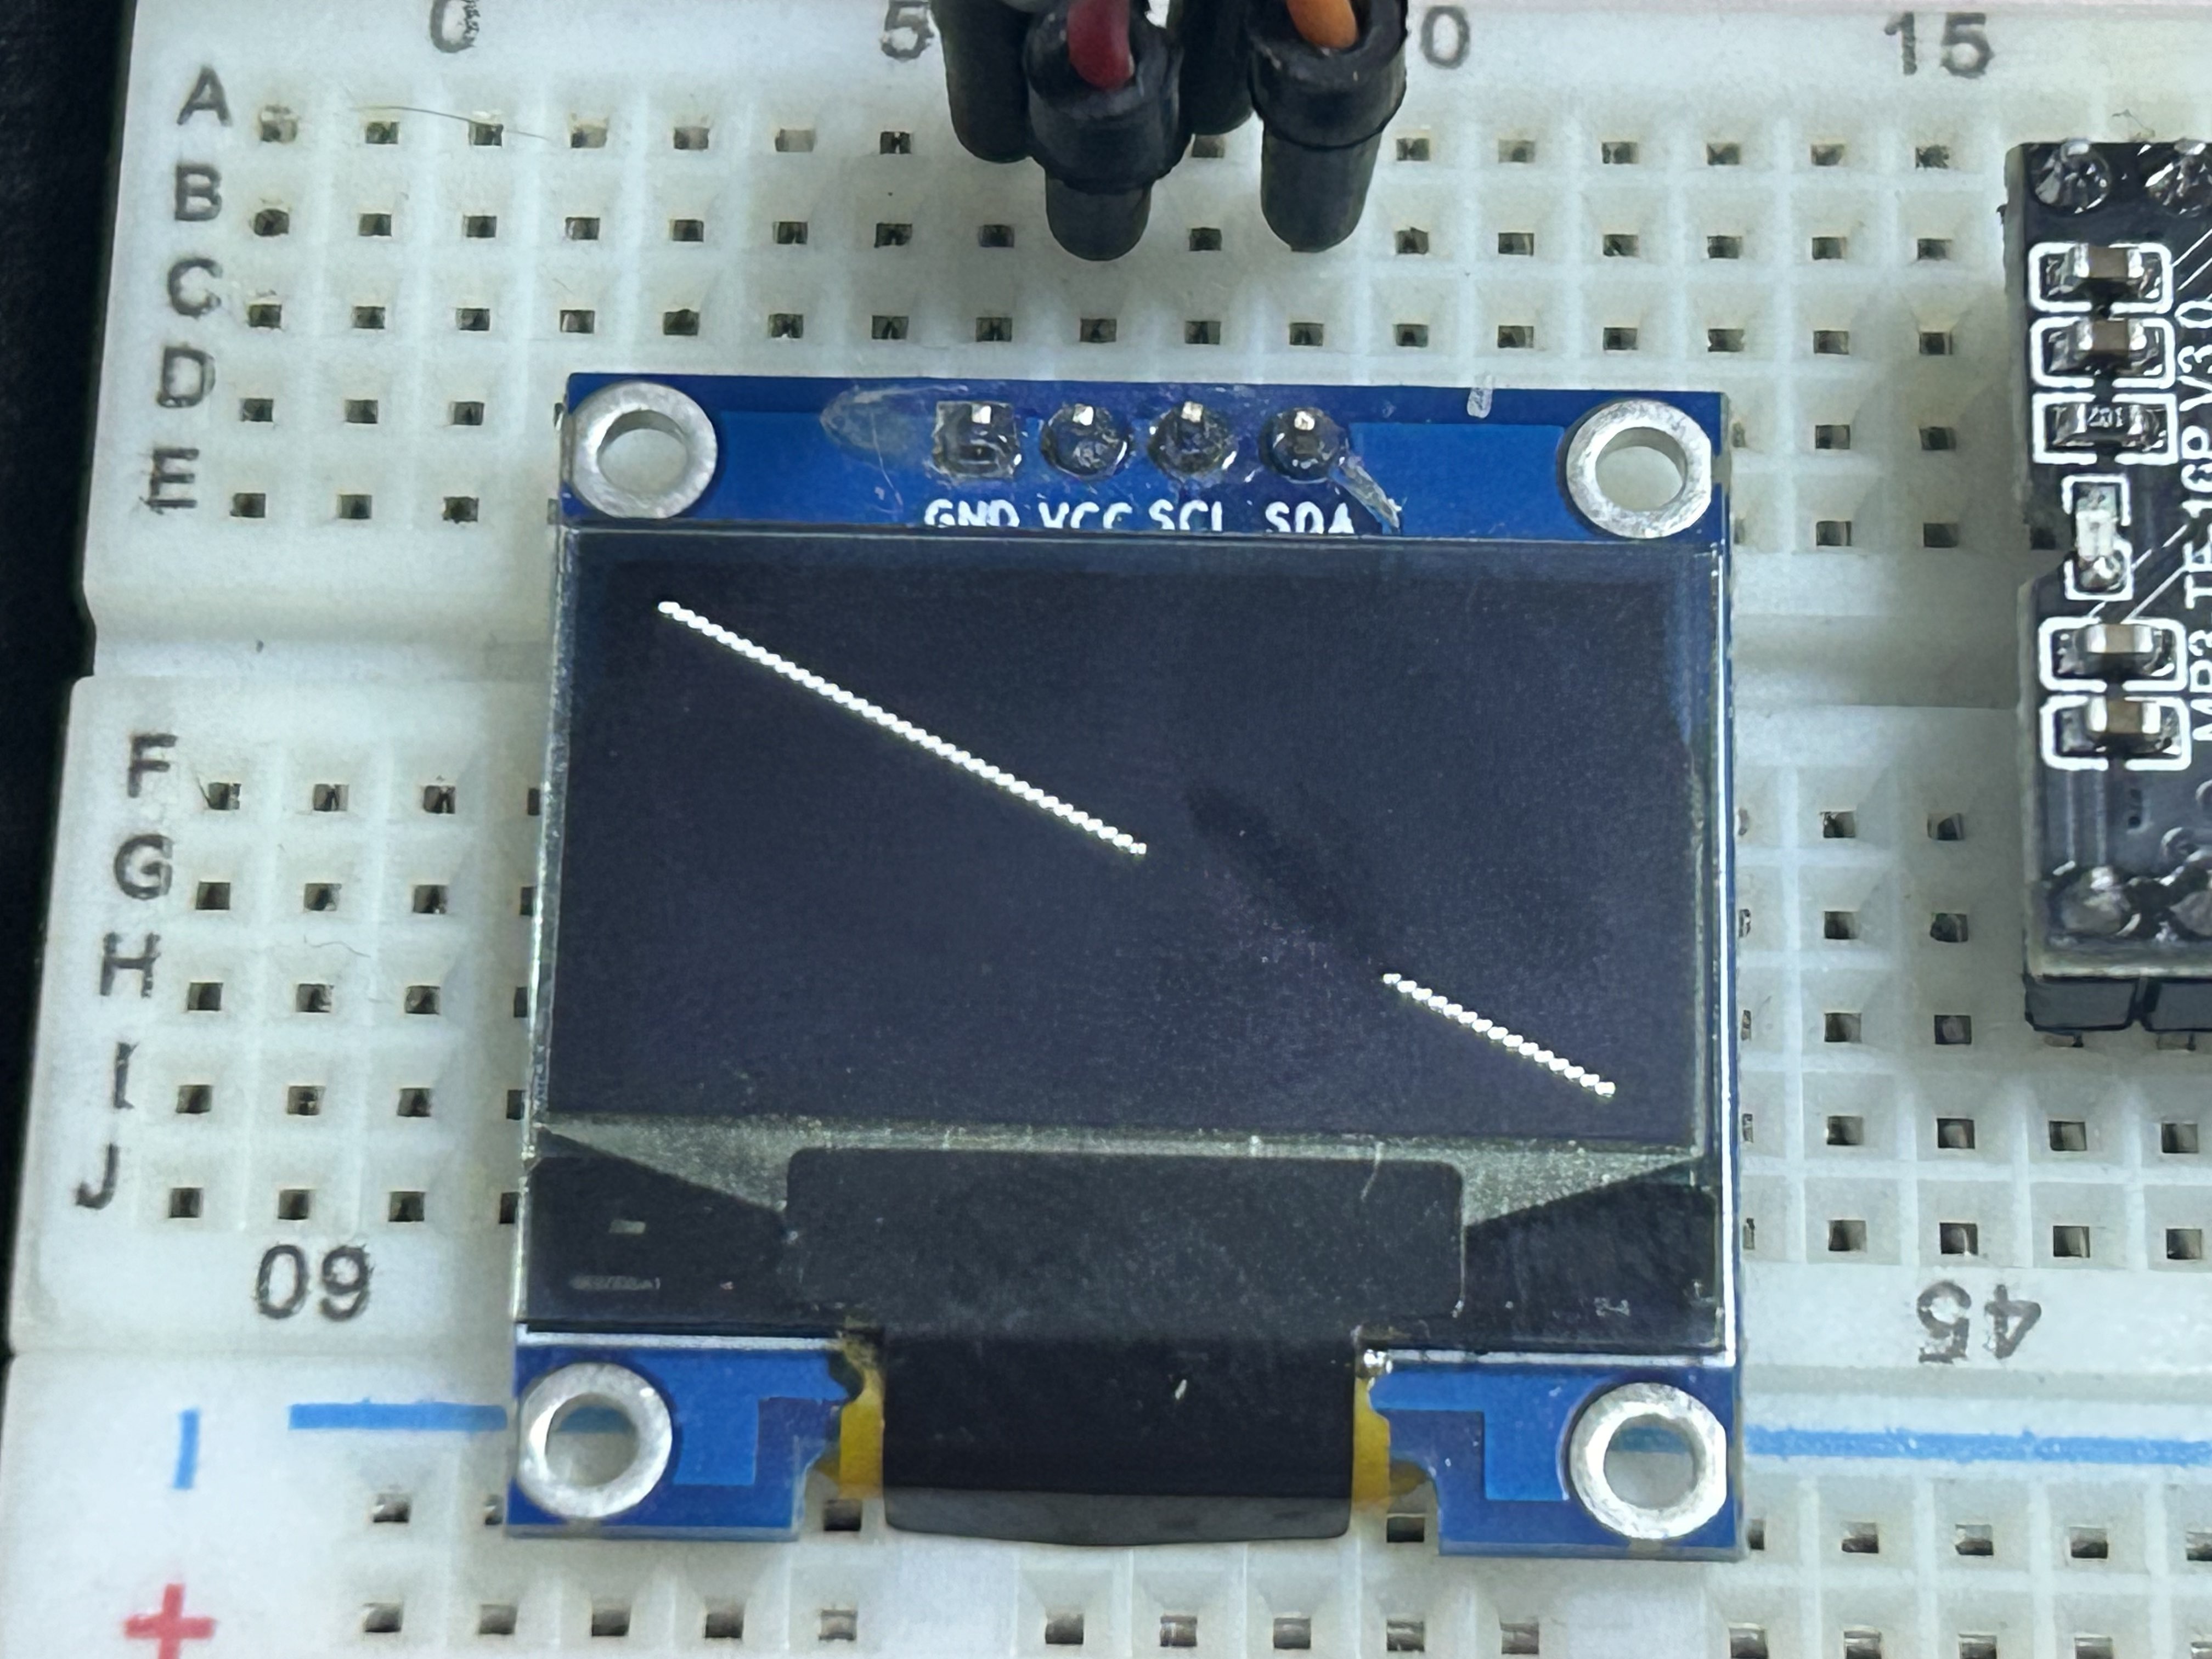
1차원 그래프를 그려보자
그래프를 한땀한땀 점을 찍어서 그려도 되지만 drawLine 함수를 쓰면 편해진다. drawLine 함수는 x0,y0,x1,y1 을 입력받아서 x0,y0 에서부터 x1,y1 까지 선을 그려주는 함수이다.
#include <SPI.h>
#include <Wire.h>
#include <Adafruit_GFX.h>
#include <Adafruit_SSD1306.h>

#define SCREEN_WIDTH 128 // OLED display width, in pixels
#define SCREEN_HEIGHT 64

// Declaration for an SSD1306 display connected to I2C (SDA, SCL pins)
Adafruit_SSD1306 display(SCREEN_WIDTH, SCREEN_HEIGHT, &Wire, -1);

void setup() {
  Serial.begin(115200);

  if(!display.begin(SSD1306_SWITCHCAPVCC, 0x3C)) { // Address 0x3D for 128x64
    Serial.println(F("SSD1306 allocation failed"));
    for(;;);
  }
  display.clearDisplay();
  display.drawLine(0, 0, 128, 64, WHITE);
  display.display();
}

void loop() {

}
출력결과